The Accu‑Chek Inform II manualguidesusers users through device setup glucose testing daily. It explains safety‚ component functions‚ and stepsandanddailyand to ensure accurate readings for diabetes management.
Follow the manual’s step‑by‑step guide to keep the device accurate compliant for monitoring daily! .

Safety Precautions
Wear gloves when handling lancets and test strips. Keep the device and accessories clean‚ store strips in a dry place‚ and avoid exposing them to moisture. Do not share lancets‚ and keep the unit out of reach of children. Follow the manufacturer safety instructions carefully daily!
2.1 Personal Protective Equipment
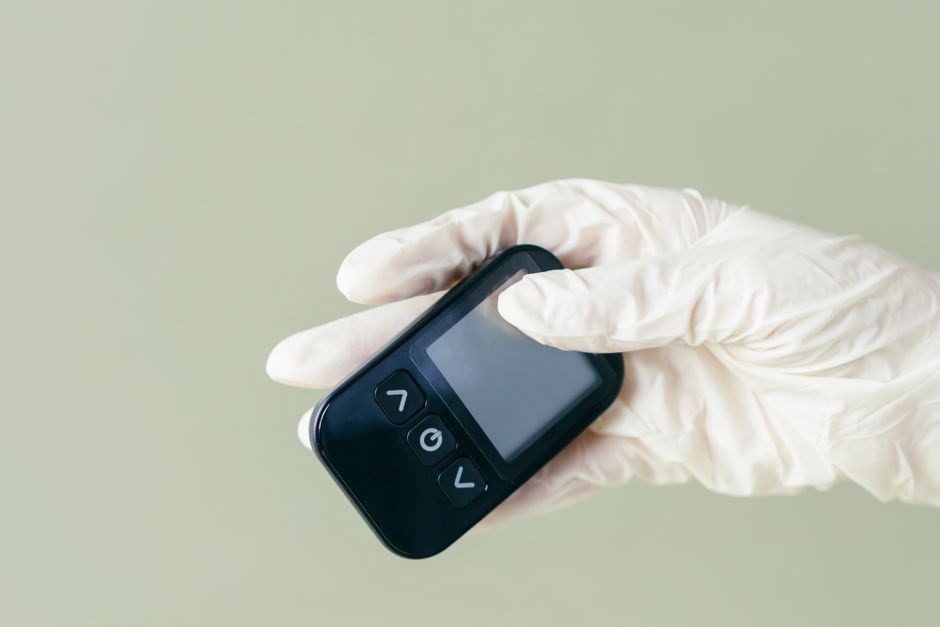
When performing a blood glucose test with the Accu‑Chek Inform II‚ wearing appropriate personal protective equipment (PPE) is essential to prevent contamination‚ injury‚ and ensure accurate results. The following items are recommended:
- Disposable gloves: Use nitrile or latex gloves to protect your hands from bloodborne pathogens and to keep the lancet and test strip clean. Change gloves between patients or after each use.
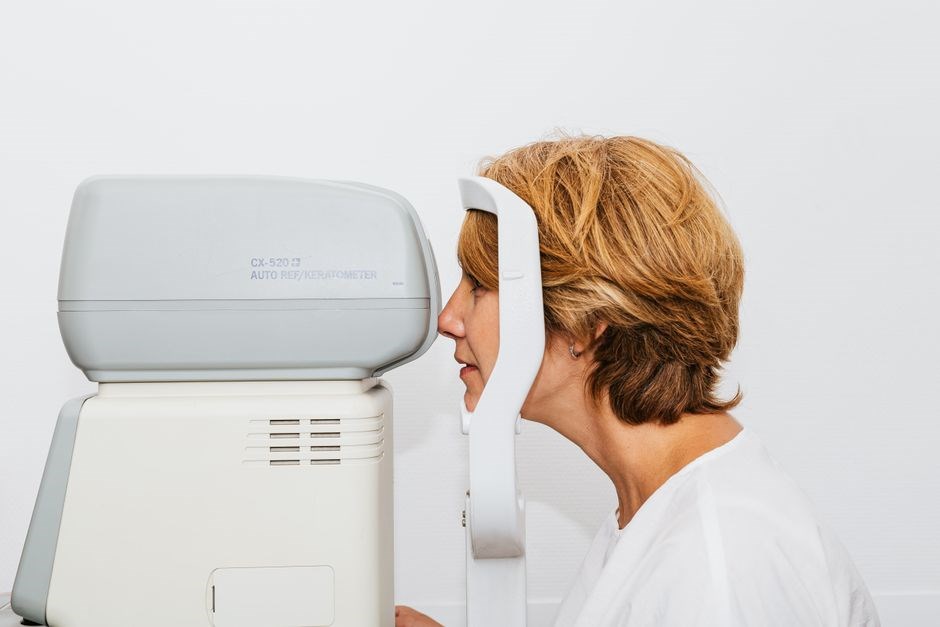
- Eye protection: If you are handling a large volume of samples or working in a clinical setting‚ safety goggles reduce the risk of splashes reaching the eyes.
- Hand hygiene: Wash hands with soap and water for at least 20 seconds before and after each test‚ or use an alcohol‑based hand sanitizer if soap is unavailable.
- Protective clothing: In a laboratory or clinic‚ wear a lab coat or apron to shield clothing from accidental spills.
- Sharps container: Dispose of used lancets immediately in a puncture‑resistant sharps container to prevent accidental needlestick injuries.
Follow the manufacturer’s instructions and local health regulations for PPE usage. Proper PPE not only safeguards the user but also maintains the integrity of the test‚ ensuring reliable glucose readings for effective diabetes management.
In addition‚ keep the device and its accessories in a clean‚ dry environment and avoid exposing them to extreme temperatures or sunlight‚ as these conditions can degrade test strip performance and affect accuracy;
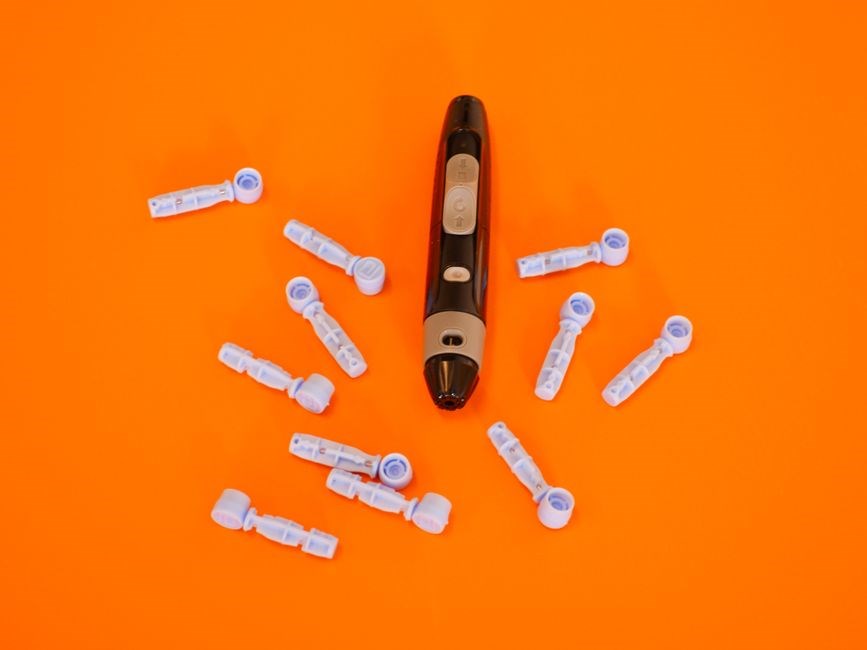
2.2 Handling of Test Strips
Accu‑Chek Inform II test strips are sensitive and must be handled with care to preserve accuracy. Store them in the original sealed pouch until use. Keep the pouch cool‚ dry‚ away from sunlight‚ humidity‚ and temperature extremes. The manufacturer recommends 20 °C to 25 °C (68 °F to 77 °F). Exposure above 30 °C or below 0 °C degrades reagents and compromises results.
When removing a strip‚ use fingers or a lint‑free glove. Avoid touching the test area. If a strip is dropped‚ discard it immediately. Never reuse strip!. Keep dry. Use glove.
Check the expiration date on the strip and device memory before insertion. Accu‑Chek Inform II flags expired strips and refuses them. If a “Strip Expired” message appears‚ replace the strip and restart the test. Use strips within 30 days of opening the pouch for best performance.
When inserting a strip‚ align the plastic tip with the device’s sensor slot. Do not force the strip; it should slide in smoothly. If resistance is felt‚ remove the strip and inspect for damage or contamination. A damaged strip can produce erroneous readings or cause the device to malfunction. If the device shows a fault code‚ remove the strip‚ clean the sensor‚ and check for debris; this ensures the sensor stays accurate and the device delivers reliable results.

After use‚ discard the strip in a puncture container. Do not place used strips in trash. Keep strips dry and store them in the original pouch. Proper disposal protects the environment and health. Follow these guidelines to maintain strip daily and ensure readings.
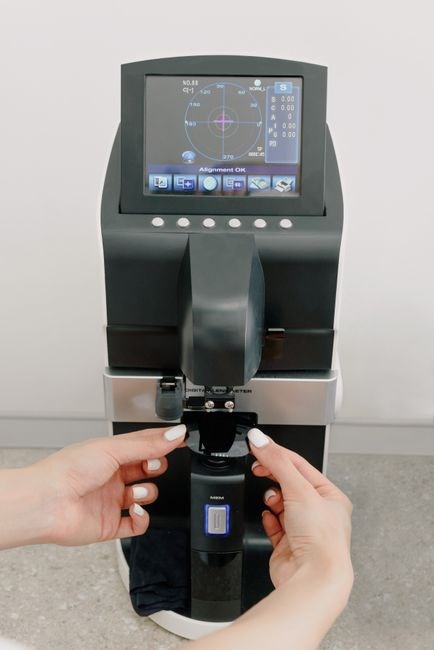
Device Overview
The Accu‑Chek Inform II is a compact‚ battery‑powered glucometer that reads blood glucose via test strips. It features a 2.8‑inch color display‚ memory for 200 results‚ and Bluetooth connectivity for data transfer. It logs readings‚ alerts for low/high levels‚ and syncs data to apps.
3.1 Device Components
The Accu‑Chek Inform II comprises several integral components that work in concert to deliver reliable glucose measurements. At its core is a compact‚ ergonomic housing that accommodates a 2.8‑inch‚ high‑contrast LCD display‚ a dedicated power button‚ and a recessed test‑strip insertion slot. The display presents numerical glucose values‚ trend arrows‚ and diagnostic icons‚ while the power button toggles the device on and off‚ enters calibration mode‚ and initiates data transfer. The test‑strip slot is engineered to accept Accu‑Chek Inform II strips‚ which contain a proprietary reagent pad that reacts with a small blood sample to generate an electrical signal proportional to glucose concentration. The microcontroller is paired with a non‑volatile memory module that stores up to 200 results‚ enabling users to review historical data without a computer. For wireless connectivity‚ the device incorporates a Bluetooth Low Energy (BLE) transceiver that synchronizes readings with smartphones‚ tablets‚ or cloud services via the Accu‑Chek app. The device also features a small‚ integrated LED indicator that signals battery status and connectivity. Together‚ these components form a user‑friendly‚ portable glucometer that supports accurate‚ on‑the‑go blood glucose monitoring.
The strip insertion mechanism is engineered to minimize user error: a spring‑loaded latch ensures the strip is fully seated before the sensor contacts the blood sample‚ preventing incomplete reactions. The sensor itself is a thin‚ flexible electrode that contacts the blood droplet and measures the resulting current. The device’s firmware incorporates error‑checking algorithms that flag abnormal readings‚ prompting the user to repeat the test if necessary. Finally‚ the Accu‑Chek Inform II’s compact footprint and interface make it ideal for daily use. Easy to read; Simple design.
3.2 Power Supply Requirements
The Accu‑Chek Inform II operates on a single‚ replaceable 1.5‑volt lithium‑ion button cell (model CR2032) that delivers a stable voltage for accurate sensor operation. The device’s internal power management circuitry draws a maximum of 0.5 mA during idle mode and 2.5 mA when the display is active‚ ensuring that a fresh cell can sustain up to 12 months of daily use under normal conditions. A low‑battery indicator appears on the LCD after the voltage drops below 1.2 V‚ prompting users to replace the cell before performance degrades. Replacement is straightforward: open the back cover with the provided plastic pry tool‚ remove the old cell‚ insert a new CR2032‚ and reassemble. The device does not support external charging or USB power; it relies exclusively on the internal cell. For users who travel frequently‚ a spare battery pack is recommended to avoid interruptions. The manufacturer recommends using only genuine Accu‑Chek batteries to maintain calibration accuracy and device longevity. Battery life is also affected by ambient temperature; operating between 0 °C and 35 °C preserves optimal performance. In extreme cold‚ the cell’s internal resistance increases‚ leading to a brief drop in output voltage that may cause the device to reset. Users should store spare batteries in a cool‚ dry place and replace them at the first sign of a low‑battery warning. Proper battery handling extends the overall lifespan of the glucometer and ensures reliable glucose readings over time. The CR2032 cell has a nominal capacity of 220 mAh‚ which‚ combined with the device’s low power draw‚ yields an estimated 12‑month lifespan under typical usage of three tests per day. Users should store spare batteries in a sealed plastic bag to prevent moisture ingress. When disposing of used cells‚ follow local hazardous waste regulations; many communities accept lithium‑ion batteries at designated drop‑off sites. The device’s power‑on sequence checks the cell voltage; if it falls below 1.0 V‚ the device will refuse to operate until a new cell is installed. This safety feature protects the sensor from damage due to undervoltage. For patients using the device in high‑altitude environments‚ note that lower atmospheric pressure can slightly affect the sensor’s response; however‚ the built‑in calibration algorithm compensates for minor variations. Finally‚ users should avoid exposing the device to temperatures above 45 °C‚ as excessive heat can accelerate battery degradation and compromise sensor accuracy. The device’s firmware monitors battery health and logs low‑battery events in the history‚ allowing users to track when replacements are due. This feature is particularly useful for patients who rely on the glucometer for tight glucose control.
Setup and Calibration
Begin by inserting a fresh battery‚ then power on. Follow the on‑screen prompts to set date‚ time‚ and language. Insert a new test strip‚ perform a calibration test‚ and confirm the result matches the reference value. Save settings and proceed to use. Make sure the strip is fully inserted before calibration.!!
4.1 Initial Setup
Before you begin using the Accu‑Chek Inform II‚ ensure the device is ready for operation. First‚ open the battery compartment located on the back of the unit and insert two fresh AAA batteries‚ aligning the positive (+) and negative (−) terminals correctly. Once the batteries are in place‚ close the cover firmly to secure the power source. Power on the device by pressing the main button; a bright LED will illuminate‚ indicating the unit is active. The screen will display a welcome message and prompt you to set the date‚ time‚ and language preferences. Use the arrow keys to navigate through the menus‚ selecting the appropriate options for your region. After confirming the settings‚ the device will ask you to insert a test strip. Slide a new‚ unused strip into the designated slot until it clicks into place. The Inform II will automatically recognize the strip type and display a calibration prompt. Follow the on‑screen instructions to perform a calibration test by applying a drop of blood to the strip. The result should match the reference value provided in the test kit; if it does‚ the device will confirm successful calibration and be ready for routine glucose measurements. If the calibration fails‚ repeat the process or replace the strip. Once the initial setup is complete‚ store the device in a dry‚ cool place and keep the user manual handy for future reference. After the initial calibration‚ it is advisable to perform a quick test using a known glucose solution to verify accuracy. Place a small drop of the solution on the test strip and observe the reading; it should fall within the acceptable error margin specified in the product literature. Finally‚ review the safety instructions located in the device’s back panel to ensure compliance with local regulations before beginning daily use. Keep the device’s firmware updated by downloading the latest version from the manufacturer’s website.
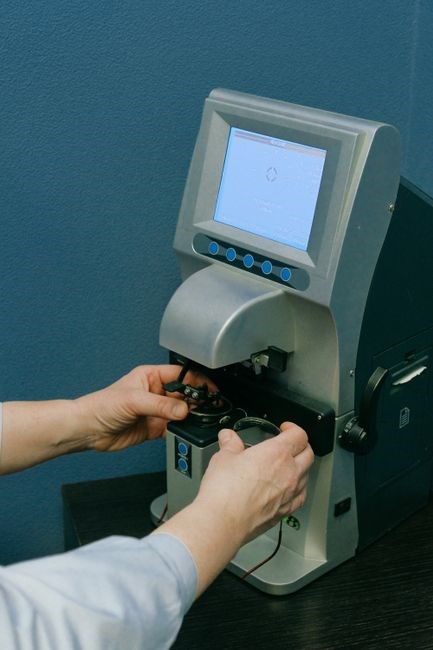
4.2 Calibration Procedure
Begin by ensuring the device is powered on and a fresh test strip is inserted. The Inform II will display a calibration prompt on the screen. Use a calibrated glucose solution that matches the reference value provided in the test kit. Place a single drop of the solution onto the strip’s sensing area. The device will process the sample and display a numerical result. Compare this result with the known reference value. If the reading falls within the acceptable tolerance range (typically ±5% of the reference)‚ the calibration is successful and the device will confirm with a green checkmark. If the reading deviates beyond the tolerance‚ repeat the calibration using a new strip and a fresh solution. After a successful calibration‚ perform a quick verification test with a second known solution to ensure consistency. The Inform II also allows you to calibrate with a user‑selected reference value; enter the desired value via the menu and repeat the blood drop procedure. For routine maintenance‚ schedule a calibration every 30 days or after a significant temperature change. If the device displays a calibration error code‚ reset the unit by turning it off‚ removing the batteries for 30 seconds‚ and restarting. Consult the troubleshooting section for persistent issues. Additionally‚ keep a calibration log noting the date‚ reference value‚ and any deviations observed; this log assists healthcare providers in tracking device performance over time and ensures compliance with regulatory standards for diabetes care devices. All entries must be legible daily.!
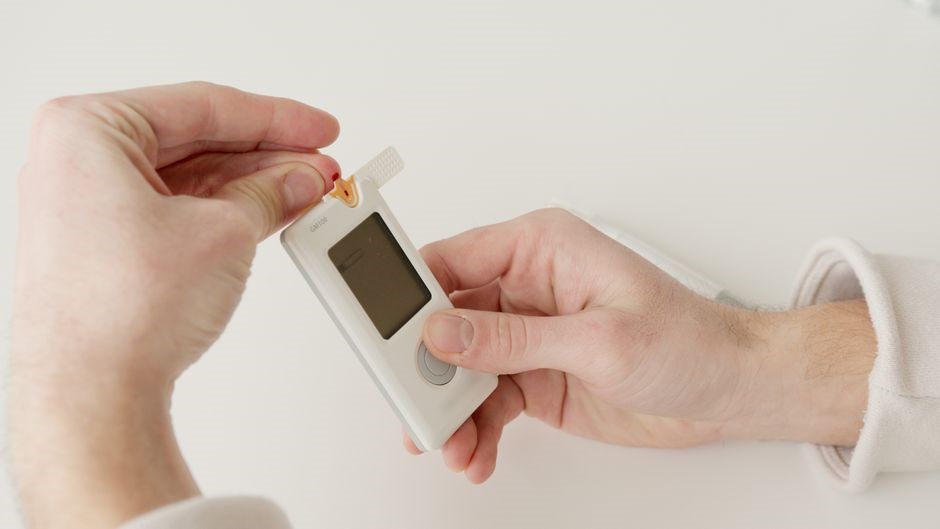
Performing a Blood Glucose Test
Insert a fresh test strip into the Inform II. Prick the finger with the lancet‚ apply a drop of blood to the strip’s sensing area‚ and wait for the device to display the glucose value. Verify the reading on the LCD‚ tap “Save” to log‚ and dispose of the strip safely. If the reading is odd‚ seek advice quickly.
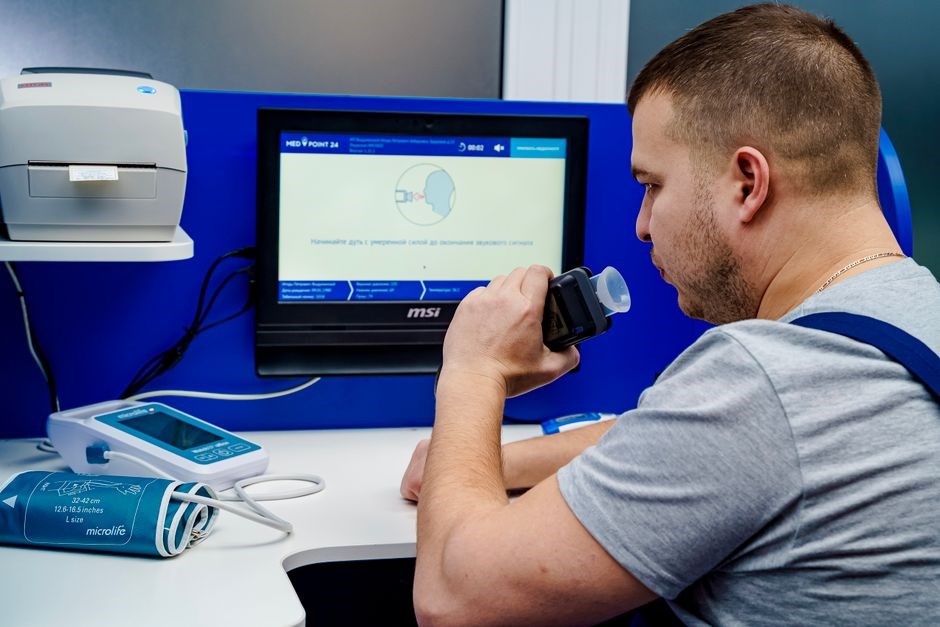
5.1 Sample Collection
Before you begin‚ wash your hands with soap and warm water‚ then dry them thoroughly. Select a finger that is not sore or swollen; the middle or ring finger is usually ideal. Use a sterile lancet device‚ set the depth to the manufacturer’s recommendation‚ and perform a quick prick. Apply gentle pressure to the puncture site until a small drop of blood appears. Do not squeeze the finger hard‚ as this can dilute the sample with interstitial fluid and affect accuracy. Place the blood drop directly onto the test strip’s sensing area‚ ensuring the drop covers the entire test zone. Allow the strip to absorb the blood fully before inserting it into the Inform II. The device will automatically initiate the test and display the glucose value on the LCD screen. Record the result in your logbook or mobile app if connected. Repeat the process if the device indicates a failed test or an unexpected value.
After the test‚ remove the strip from the device‚ dispose of it in a sharps container‚ and wash your hands again. If you notice any bleeding or skin irritation‚ apply a sterile bandage and monitor the area. Keep a log of each test‚ noting the time‚ blood glucose value‚ and any factors that may influence readings‚ such as recent meals or exercise. Consistent technique ensures reliable results over time. If the device displays an error code‚ refer to the troubleshooting section for guidance.
Clean the lancet tip with alcohol before each use. Store strips in a cool‚ dry place and replace them before expiration to ensure accuracy. Done!
5.2 Inserting the Test Strip
After collecting a blood sample‚ carefully remove the used lancet and allow the drop to fully saturate the test strip’s sensing area. Hold the strip vertically and align the test zone with the device’s insertion slot. Gently slide the strip into the slot until it clicks into place; the device will automatically detect the strip or begin the measurement cycle. Do not force the strip‚ as this can damage the sensor or cause a misread. Once inserted‚ the device will display a “Ready” status‚ indicating that the strip is properly seated and the sensor is primed. The measurement will commence immediately‚ and the glucose value will appear on the LCD screen after a brief analysis period. If the device shows a “Strip Error” or fails to recognize the strip‚ remove it carefully‚ inspect for damage or moisture‚ and reinsert it following the same procedure. Ensure the strip is not exposed to humidity or extreme temperatures before insertion‚ as this can compromise sensor integrity. After the reading is displayed‚ the device will automatically eject the used strip; discard it in a designated sharps container. Record the result in your logbook or connected app‚ noting the time and any relevant conditions. Proper insertion technique is critical for accurate readings and device longevity;
If the device indicates a sensor error after insertion‚ press the reset button located on the back of the unit for five seconds. The display will flash a warning code; consult the troubleshooting guide for that code. Always keep the strip insertion slot clean‚ wiping with a lint‑free cloth before use now!!
Interpreting Results and Troubleshooting
When the Accu‑Chek Inform II displays a glucose value‚ it represents the concentration of glucose in the blood sample in mg/dL or mmol/L‚ depending on your regional settings. The device’s display will show a numeric value followed by a unit indicator. If the value falls outside your target range‚ review recent meals‚ medications‚ and physical activity to determine potential causes. The device also offers a trend arrow that indicates whether glucose is rising‚ falling‚ or stable‚ helping you anticipate future changes. In case of an error code‚ the screen will present a brief message such as “Strip Error‚” “Sensor Error‚” or “Low Battery.” For a “Strip Error‚” verify that the strip is inserted correctly‚ not damaged‚ and within its shelf life. A “Sensor Error” often indicates a faulty sensor or contamination; replace the strip or clean the sensor area with a lint‑free wipe. “Low Battery” means the internal battery is nearing depletion; recharge the device using the supplied charger until the battery icon turns green. For persistent inaccuracies‚ perform a calibration check by inserting a new strip and comparing the result with a laboratory measurement. If the discrepancy exceeds ±10%‚ replace the strip and ensure the device’s firmware is up to date. The manual recommends updating firmware via the companion app or USB connection. If the device continues to malfunction‚ contact Accu‑Chek support or visit a certified service center for professional assistance.